Step 1: Sign Up for Shopify
Navigate to the Shopify website, and click on the Get Started button. Fill in your desired email address, password and store name.

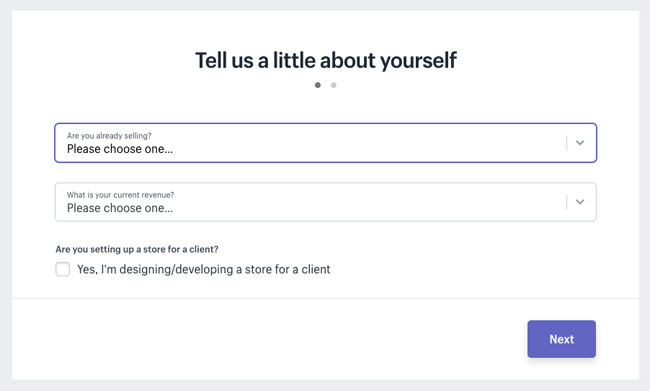
After you click Next, tell Shopify about yourself by specifying how much you plan to sell and if you’re already selling. Click on the Enter My Store button when complete.
It will then ask you if you’d like to make a brick and mortar store or an online shop. For this tutorial we’re only going to make an online shop, so select that option and click Next.
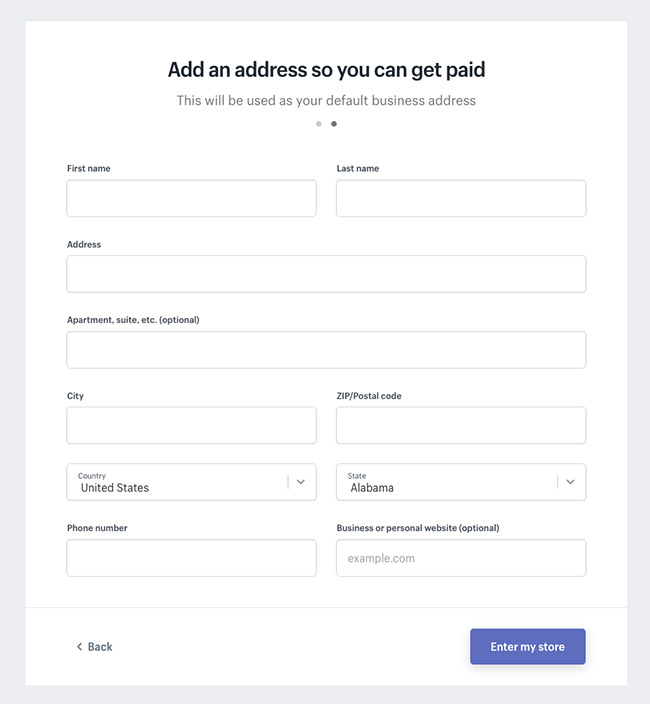
The following page asks you to fill in personal information such as your name, address and phone number, all of which is used to configure currencies and tax rates.
Step 2: Add a Product to Your Shopify Store
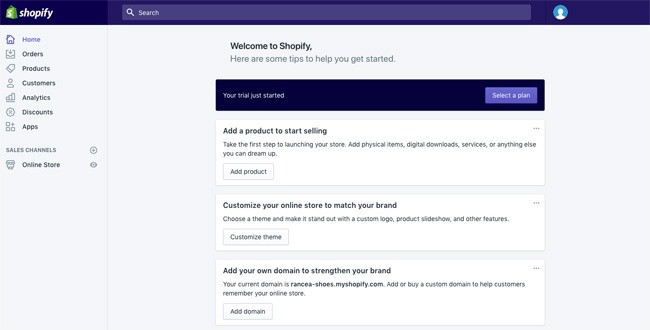
When going to your Shopify backend it outlines a nice step-by-step process on how to completely set up your shop. The first button asks you to add a product, so you should click on that first.
The Add product page is similar to something you would see on WordPress. You can fill in details like a title, description, price, and vendor. Feel free to complete however much of the product page you’d like. Just make sure you save the product at the end.
Step 3: Customize the Look of Your Site
Go back to the main dashboard, and select the Customize the Look of Your Site button. This area asks you to customize anything from logos to colors. This takes a bit of tinkering, but the main part you want to focus on is the link that asks you to Visit the Theme store.

Here you can browse through the hundreds of themes in Shopify to make your site look awesome.
Step 4: Setup Your Domain
After you choose your template and design your website to your liking, it’s time to select a domain to make your site official and make it live.

Go back to the dashboard and click on the spot that asks to Add a Domain. This asks you whether you want to transfer a domain or register a new one. Choose the domain you like and walk through the steps to make the purchase. You’ll also need to specify which Shopify payment play you’d like to go with.
Upon activation, you can then go to that particular domain and see your website.
Step 5: Activate Your Payment Processor
Click on the tab to the left of the dashboard called Payments. This area allows you to select from dozens of payment processors such as Stripe and Authorize.net. Shopify also has its own payment processor which is super easy to implement. Simply walk through the steps to activate your payment processor. This allows you to accept payments and put those payments in an account.
After all is said and done you can click on the Launch Website button to make the store live. Congratulations! You now have a fully functional Shopify online store.
How to Create Your Own Online Store with WordPress in 15 Minutes
Step 1: Choose a Domain and Hosting Account
The first step in implementing a WooCommerce shop is to choose a hosting account to host all your website files. We recommend Bluehost, since it’s a reliable, secure and easy to use platform, and they offer a one-click WordPress install button.
Not to mention, the Bluehost company provides a great monthly service that integrates WordPress with WooCommerce, so you don’t have to do a thing.
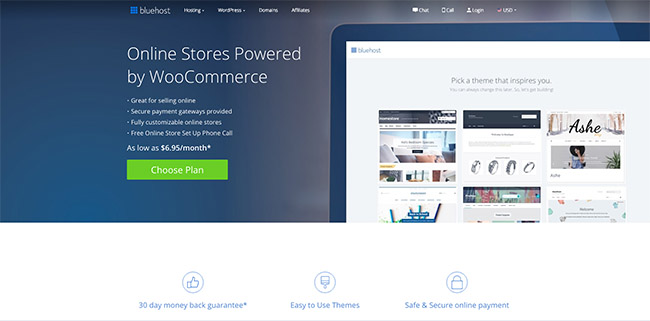
Go to the Bluehost page that explains the entire integration. Click on the Get Started Now button to proceed. With the WooCommerce package you receive hosting, positive SSL ecommerce security, at least 100GB of website space and much more. But most importantly, WooCommerce is already installed and optimized.
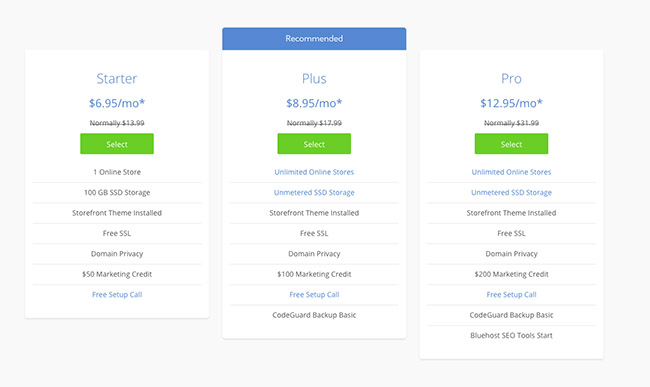
Choose a plan, then move onward.
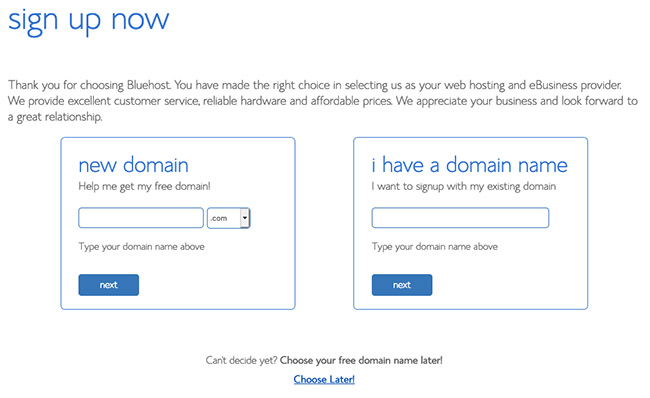
The next page asks you to choose a domain or transfer one over. After you punch in a domain it will tell you if it’s available. The next page then requests your personal and package information. I would recommend simply choosing your desired plan and skipping over the extras.

Continue walking through the setup process where it asks to make your own Bluehost login credentials. Once it brings you to the Bluehost CPanel you can locate the WordPress button under the Website Builders header. This allows you to walk through just a few steps to complete the entire WordPress installation.
At the very end, it will tell you the domain you can go to for logging into your WordPress backend.
Step 2: Purchase the Divi Theme
This part is simple. Go to the Divi purchase page and go through the steps to buy this WordPress theme.
Step 3: Install the Divi Theme
If you opted for the WooCommerce/Bluehost service, you already have WooCommerce installed on your website. If not, download WooCommerce and install it on your website.
Now it’s time to install a theme that’s optimized for WooCommerce. Plenty of options exist, but we recommend the Divi theme since it’s extremely easy to brand and design for your own purposes.
Purchase and download the Divi theme. Upload the file to the backend of your WordPress dashboard and activate it as your primary theme. This can be done by going to Appearance > Themes > Add New.
Step 4: Add a Product to WooCommerce
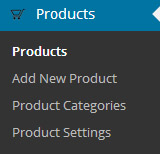
Navigate to Products > Add Product.
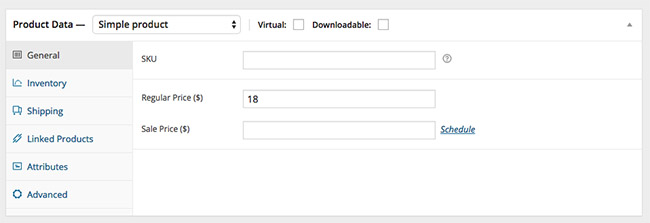
This brings up a new page similar to a blog post you would generally create on a WordPress site. Create a title for your product, along with a description. If you scroll down a bit you’ll notice plenty of other details to fill in, such as inventory, shipping, pricing and linked products.
Keep in mind that there is plenty more to do with your WooCommerce website, but you can find most of the technical details in the WooCommerce documentation. For now, this should be enough to have your site ready to go!
Regardless of whether you choose Shopify or WooCommerce, we wish you luck on your ecommerce journey! Feel free to drop any questions you may have in the comments section below.


